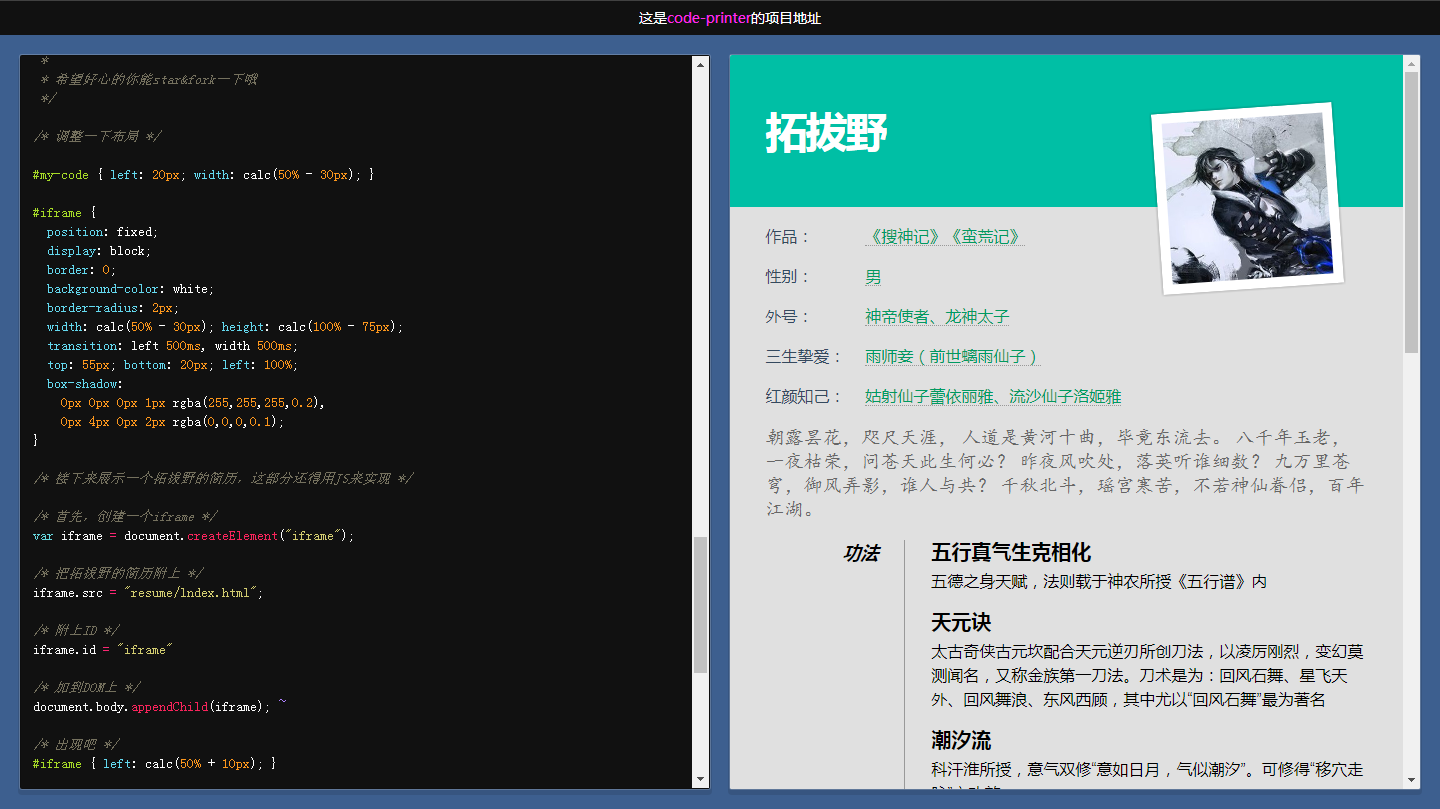
欢迎光临我的博客拓跋的前端客栈,这个是原文地址,这个是项目地址,欢迎star&fork。如果您发现我文章中存在错误,请尽情向我吐槽,大家一起学习一起进步φ(>ω<*)
DEMO
最终效果请点击这里,是不是有点意思?

源码分析
code-printer的原理是首先搭起一个骨架,然后通过遍历的方式,一点一点地往骨架里塞东西。
骨架主要有三块:
- <pre id=”my-code”>: 主要用来展示的HTML代码的,带标签
- <style id=”style-elem”>: 主要填CSS代码的,用于把<pre>里特定的标签转换成特定的样式
- <div id=”script-area”>: 主要是填JS代码的。但是由于一个字符一个字符往里面填代码会出现大量报错,因此这部分需要一个段落的JS代码全部书写完毕以后,通过一个命令符’~’来一次性填入。
printCodes
1 | let printCodes = function (message, index, interval) { |
这段代码的主要作用就是遍历打印字符,同时每次打印的时候都将滚动条拖到最底下,保证用户能看到最新的变化。
printChar
1 | let printChar = function (which) { |
printChar函数是code-printer的核心函数,这个函数会根据当前的代码是JS还是CSS,来进行不同的处理。
如何判断是JS还是CSS代码呢?默认设置
1 | let isJs = false; |
也就是默认是CSS,然后以 ` 作为切换符号,每次遇到 ` 就切换一次语言。
当前字符属于JS时,在没遇到执行符号 ~ 之前,printChar只是单纯的打印格式化后的字符。遇到 ~ 以后,printChar进行了如下操作:
- 函数首先通过正则匹配,匹配出之前的JS整段代码。
- 再调用createElement()来创造一对<script></script>标签,用来存放JS代码。
- 然后将处理过的JS代码存入<script></script>标签内。
- 最后通过$script_area.appendChild()的方式将<script></script>及其内部的JS代码存入<div id=”script-area”>中。注意,每次调用$script_area.appendChild()之前,都要将之前<div id=”script-area”>清空一遍,防止之前的JS代码再执行一次。
当前字符属于CSS时,每次打印过程,一方面会将未格式化的字符串传入<style id=”style-elem”>中,用以生成样式。另一方面会将格式化的代码输出到<pre id=”my-code”>中,用以展示代码。
cssHighlight和jsHighlight
这两个函数十分类似,主要作用就是通过正则匹配,给不同类型的字符两端封上不同的标签,用以高亮代码。举个栗子:
1 | if (openInteger && !which.match(/[0-9\.]/) && !openString && !openComment) { |
这就是一处典型的匹配+替换标签组合拳。作用是代码在以数字结尾时,给数字两端封上<em class=”int”></em>的标签。
代码中还有很多用作标志位的参数,比如说openInteger,表示这段输入都是数字。通过对这些控制位进行操作,可以将零散的字符分成一段一段的,方便进行处理。
其他部分就不谈了,自己可以看源代码,我已经加了备注。
使用方法
您可以fork过去直接修改,也可以按照如下步骤操作
1 | git clone https://github.com/tuobaye0711/code-printer.git |
安装依赖文件
1 | npm install |
打包文件
1 | npm start |
起服务
1 | npm run server |
修改配置说明:
resume 文件存放简历或者其他静态资源
source/code.js 存放需要打印并展示样式的代码(CSS/JS)
source/app.js 是主代码,可以修改一些比如说打印速度、高亮色等配置
小结
能在自己网站挂一份带打印特效的简历,想必能让人眼前一亮吧。这篇文章主要安利了一下我这个名为code-printer的小项目,希望能帮到各位~